Run Alby Hub with DigitalOcean
Deploy Alby Hub from the DigitalOcean Marketplace with a guided Droplet setup.
Prerequisites
DigitalOcean is a good option if you want to self-host Alby Hub on a cloud server without manually installing Alby Hub yourself. This guide walks you through deploying Alby Hub from the DigitalOcean Marketplace using the 1-click button, creating a Droplet, opening your Hub in the browser, and updating your Hub later. Before you begin, make sure you have:
DigitalOcean may require billing details before you can create a Droplet. Depending on DigitalOcean’s current pricing and your usage, charges may apply. See their pricing page for more details.

Deploy Alby Hub on DigitalOcean
01
Click the Deploy to DigitalOcean button
Click the button below to start the Alby Hub deployment flow:
DigitalOcean will open the Droplet creation page with the Alby Hub Marketplace image selected.
02
Choose a datacenter region
Choose the datacenter region where your Droplet should run. Pick a region close to where you will usually access your Hub to help reduce latency.
The Alby Hub Marketplace image should already be selected. You do not need to change it.

03
Choose a Droplet size
Choose the Droplet type and plan for your Alby Hub.
The recommended starting point is:
Droplet Plan: Basic
CPU Options: Regular, 1vCPU
Memory: 1 GB RAM
Storage: 25 GB SDD
04
Configure authentication
Choose how you want to access your Droplet later:
Add an SSH key, recommended if you already use SSH keys
Or choose password authentication
Keep Public IPv4 address enabled. It is enabled by default and is needed so you can open Alby Hub in your browser.
05
Name and create the Droplet
Enter a Droplet name that helps you recognize this server later, for example "albyhub".
Review the selected options, then click Create Droplet.
DigitalOcean will now create your Droplet from the Alby Hub Marketplace image. Wait a few minutes while the Droplet is created and the app starts.
06
Open your Alby Hub
After the Droplet is ready, copy its public IPv4 address from the DigitalOcean dashboard.
Open the following URL in your browser:
For example:
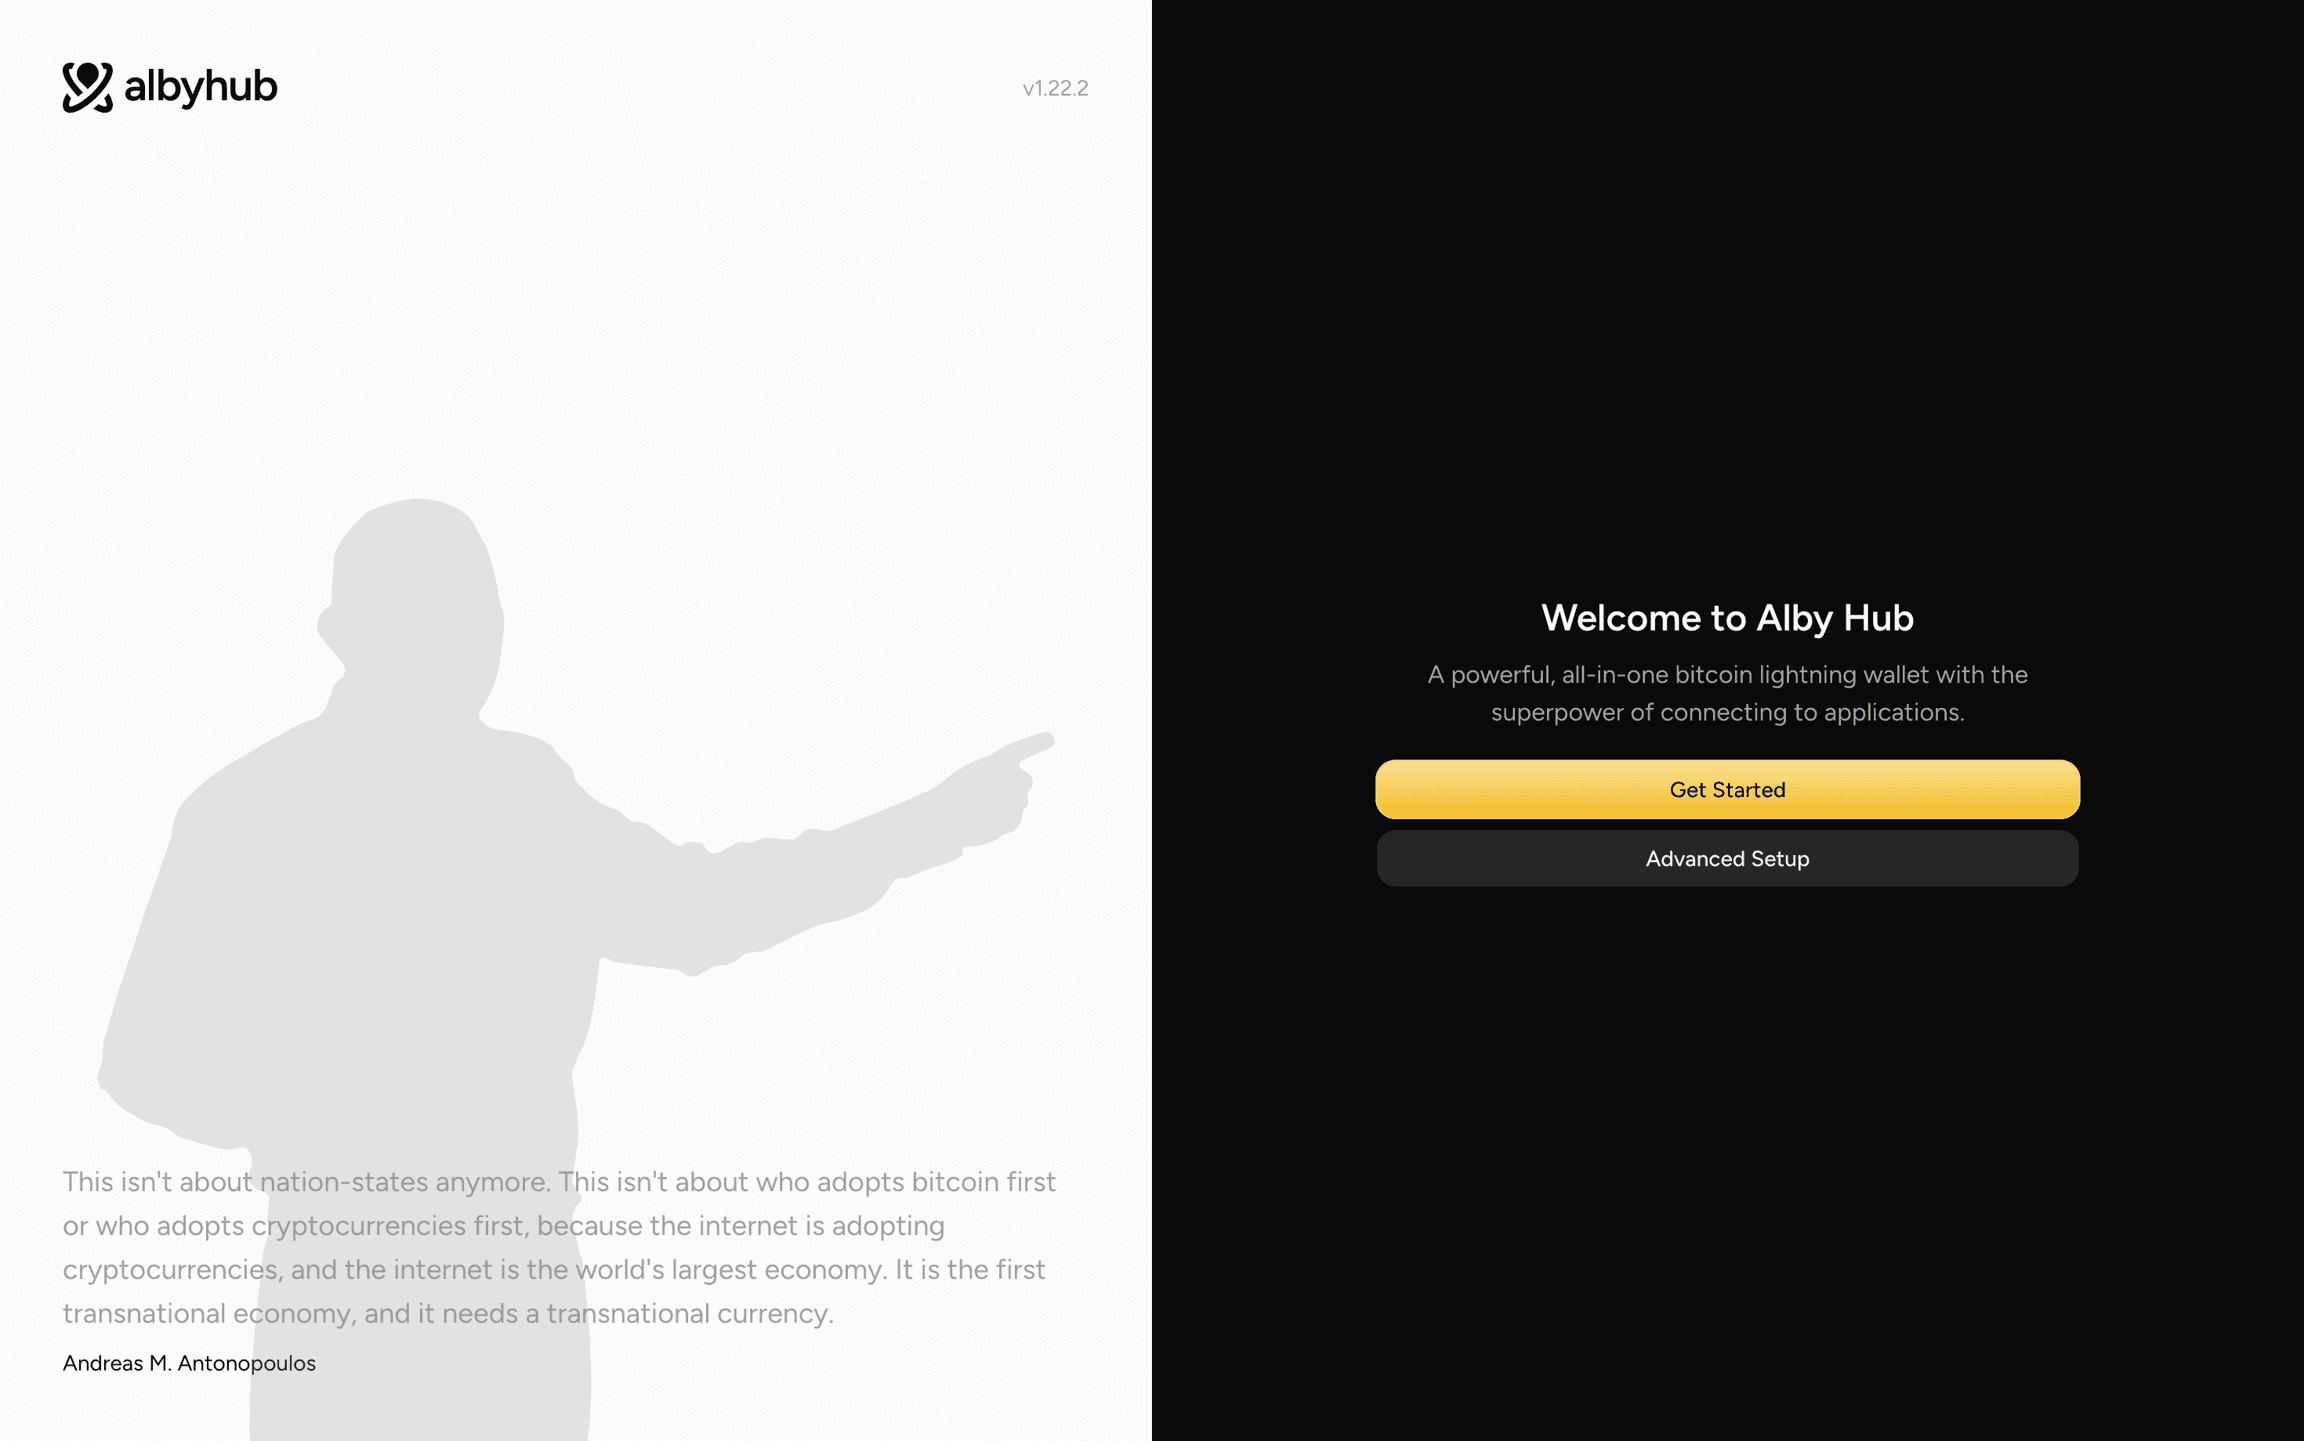
You should see the Alby Hub welcome screen.
07
Set up Alby Hub
Click Get Started and follow the setup flow inside Alby Hub.
During setup, save any important recovery or backup information shown by Alby Hub. Your Hub data is stored on your DigitalOcean Droplet, but you should still keep your own backup so you can recover or migrate your Hub later.
How to update Alby Hub on DigitalOcean
Alby Hub will show an update banner inside the app when a new version is available.
When you see the update banner, connect to your DigitalOcean Droplet using SSH or Web Console and update your deployment.
In the console, go to the Alby Hub deployment folder:
Pull the newest image:
Recreate the container with the new image:
Check that Alby Hub started cleanly:
If there is no new Alby Hub version available, docker compose pull may pull the same image again. You only need to update when Alby Hub shows an update banner or when you know a new release is available.